|
back to menu
Part 7
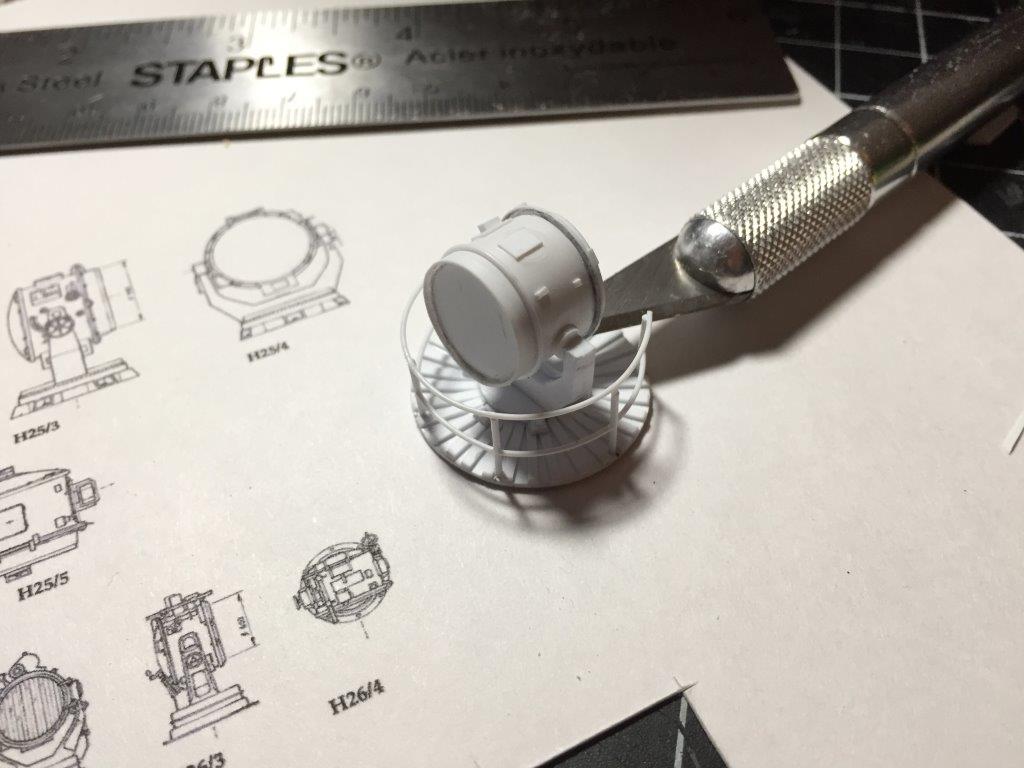
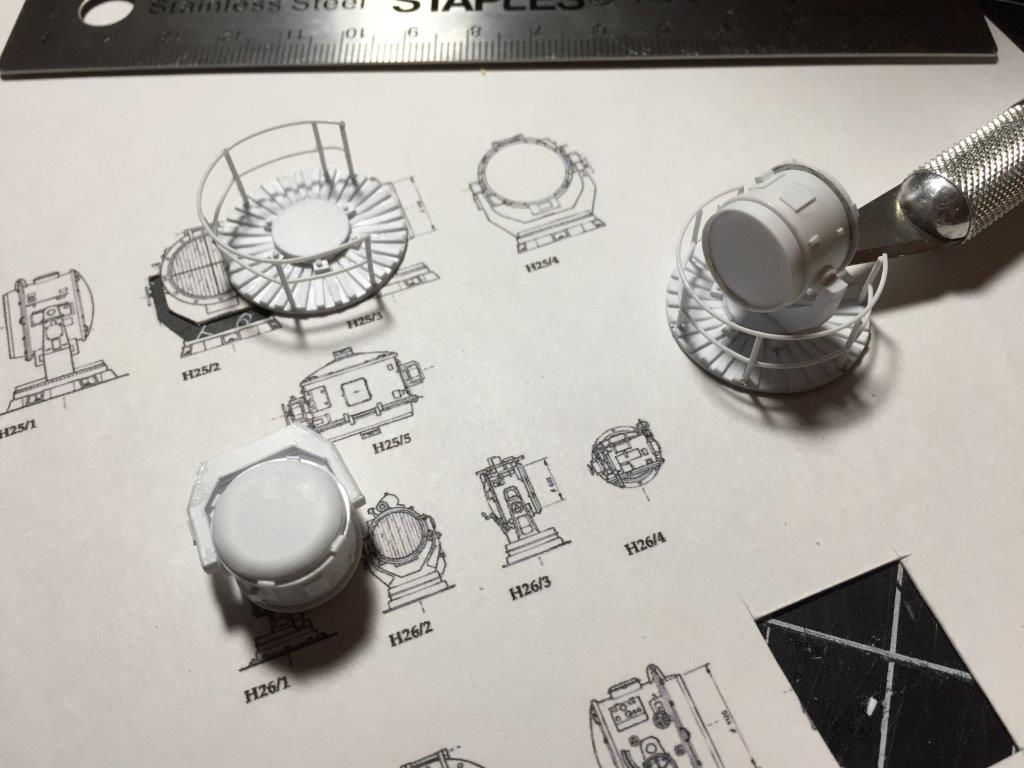
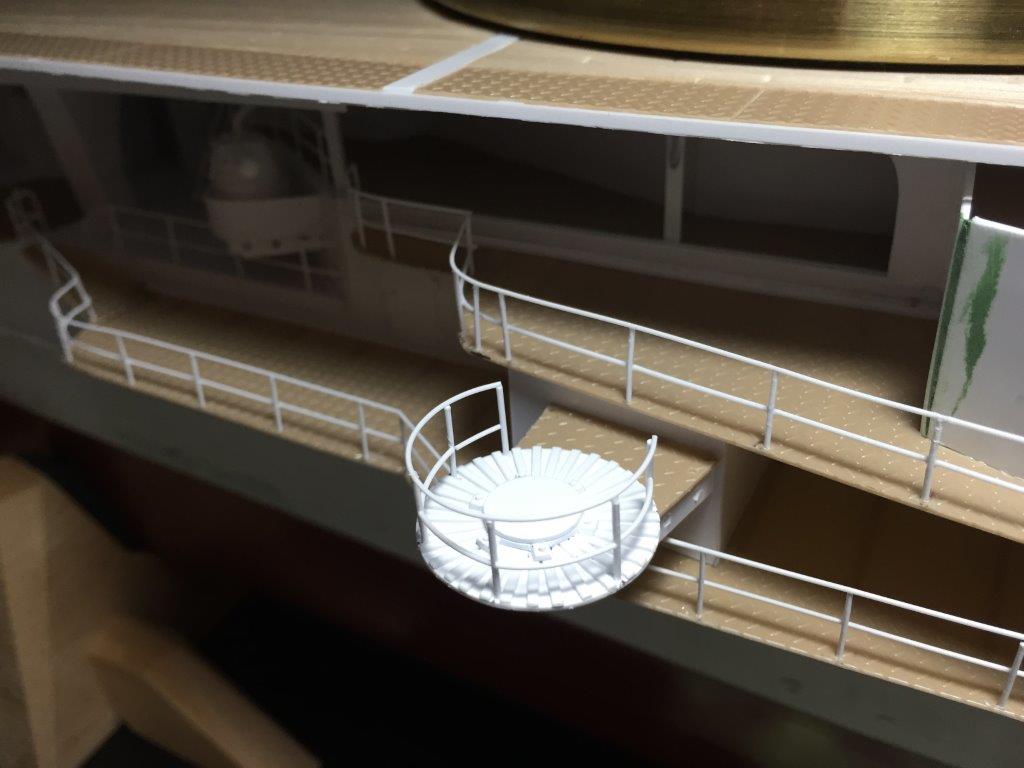
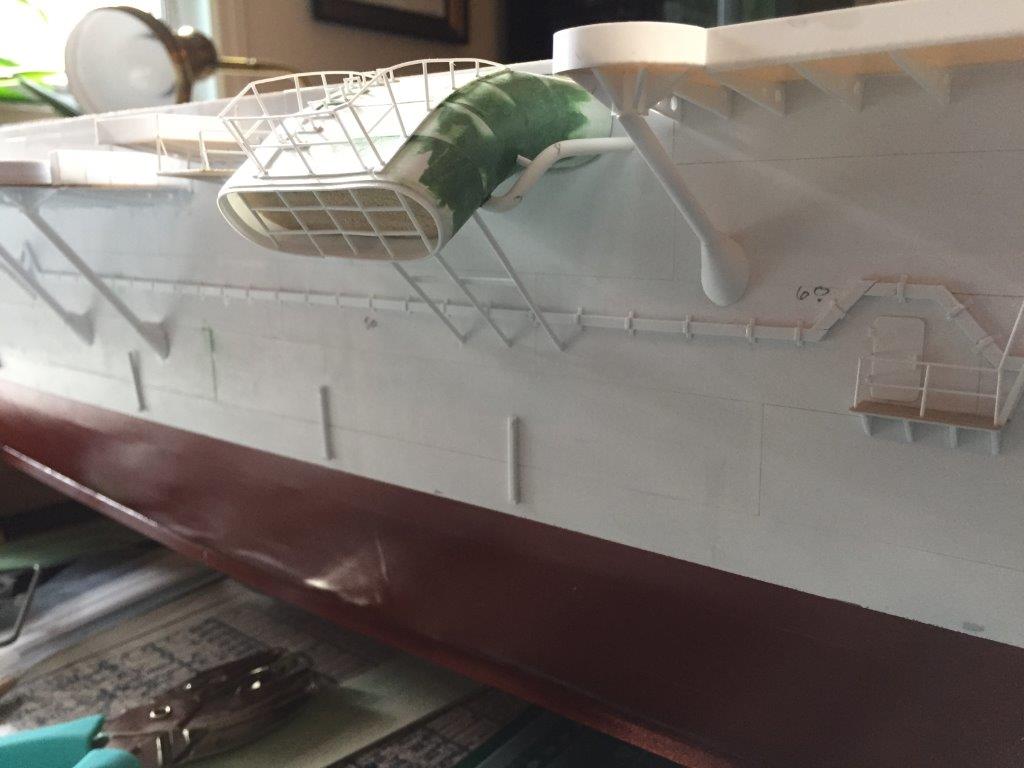
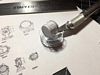
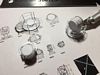
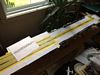
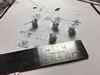
Next on the build were the searchlights and searchlight platforms. By this point I had become proficient enough with my styrene work to quickly build these. Both searchlights and their platforms
took me about 3 hours to build.
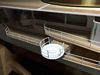
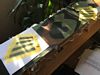
The degaussing cable was another tedious task. The lateral cable strips themselves were relatively easy, but the support brackets were many (120 per side, give or take) and were made up of five
individual small pieces of styrene strips each. The close up of the degaussing cable below also shows the curved funnel with a rather ridiculous railing. There were no clear drawings or pictures
of her funnel's railings, so I made a guess. Upon reviewing other Japanese carriers of different classes, none of them had this rather large and leaning railing system on the funnel. I removed it
eventually and replaced it with a more conservative estimate of what she may have actually sported.
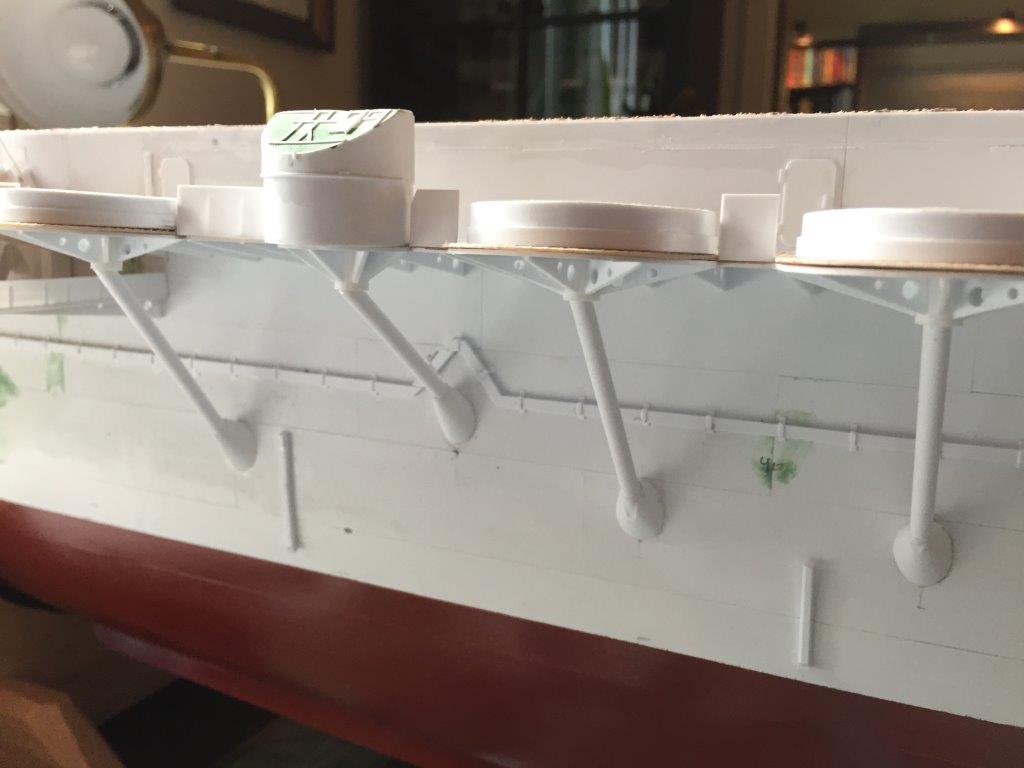
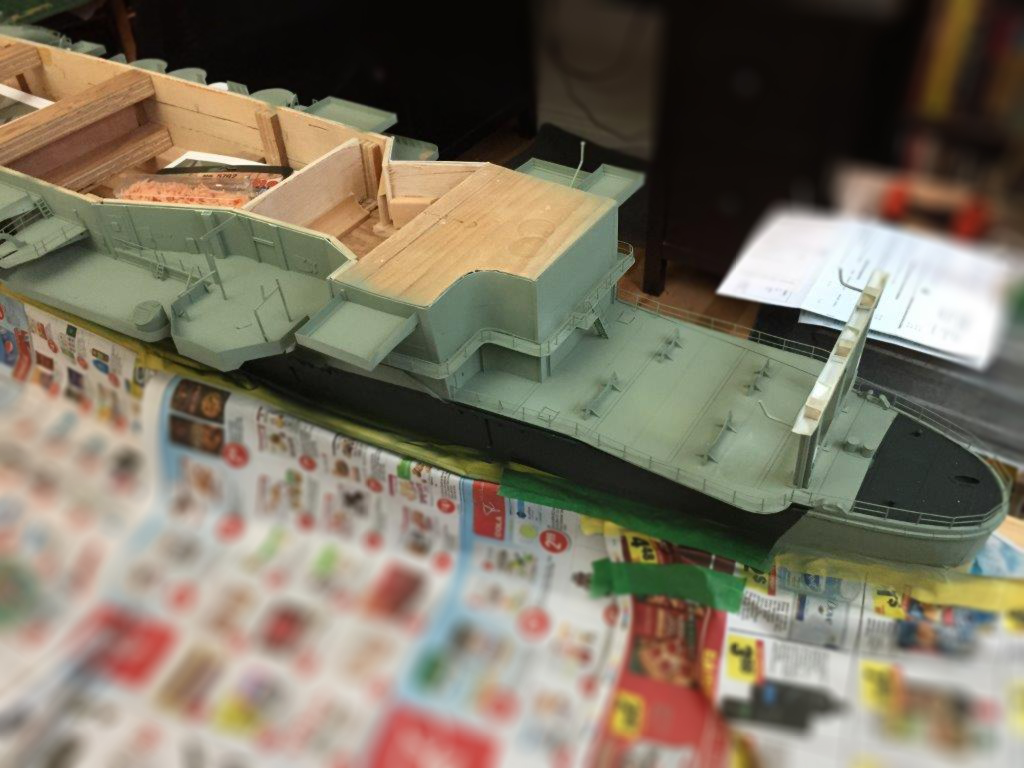
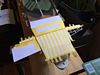
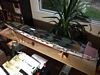
Next was the addition of all the diagonal sponson support posts. These were measured and attached so that all the 25mm gun supports met the hull at the same height and the ranger finder supports
met the hull at another uniformed height. With the addition of the support posts the ship really looked like it should, albeit an alabaster white version!
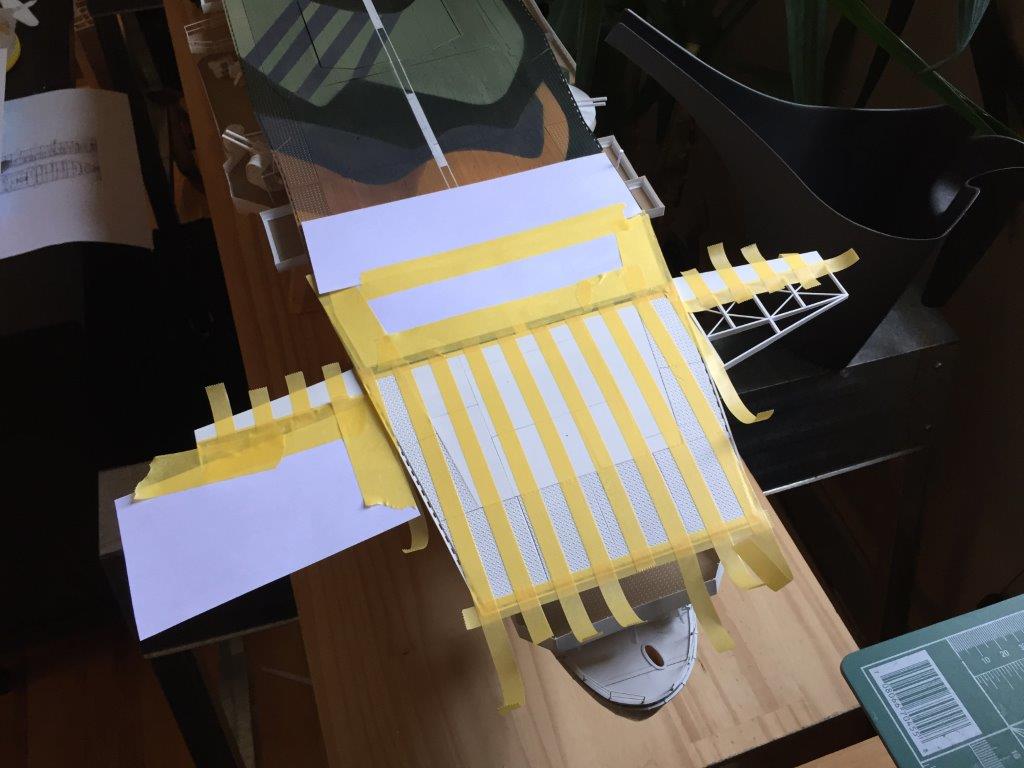
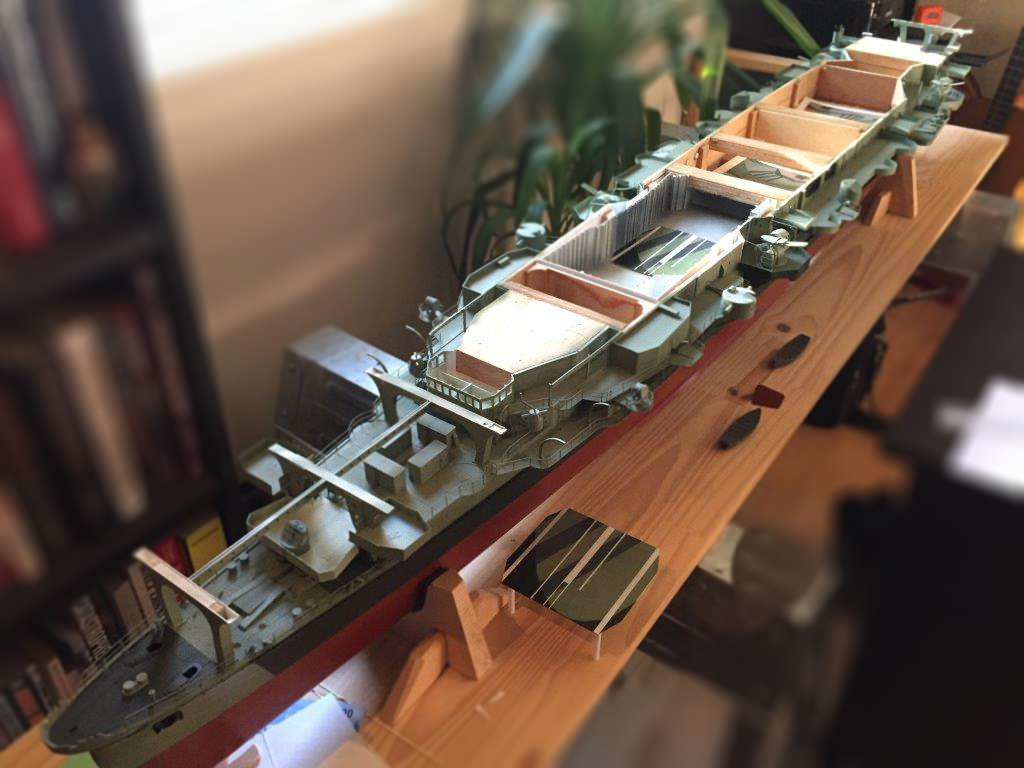
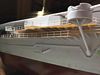
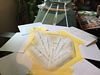
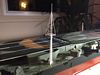
The last item to complete before I got to painting the upper hull and deck was the addition of the wings on the aft portion of the flight deck.
This took me a few hours to complete. Easy enough! (You can see the carriers "wings" in the second set of pictures after the next paragraphs)
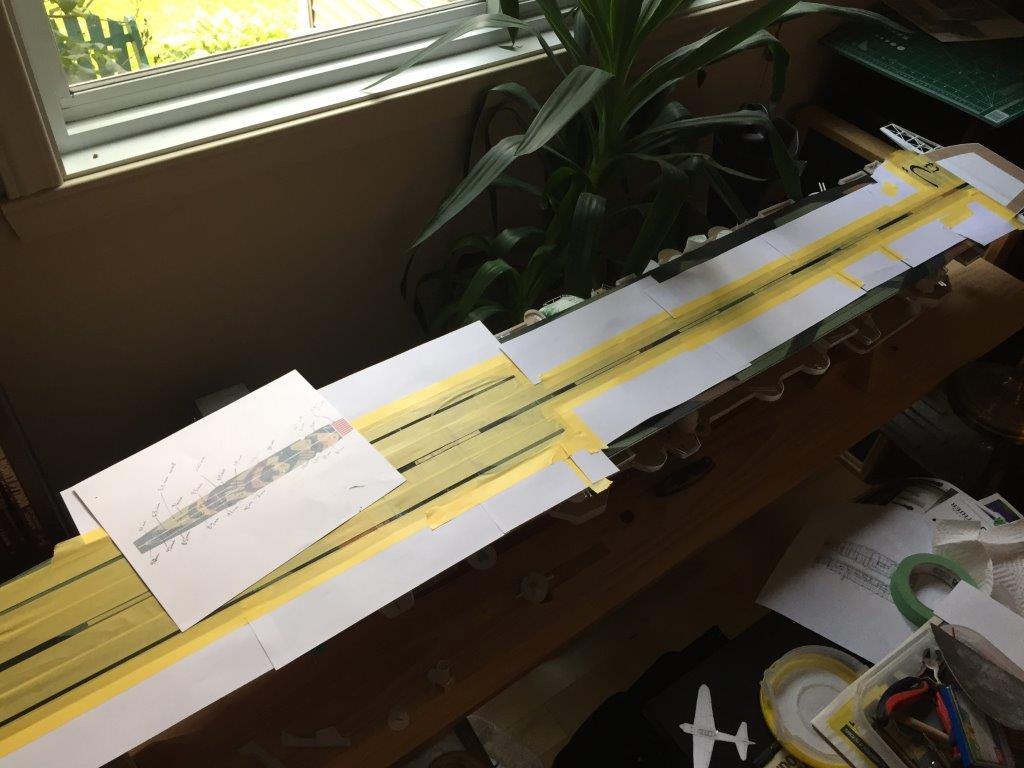
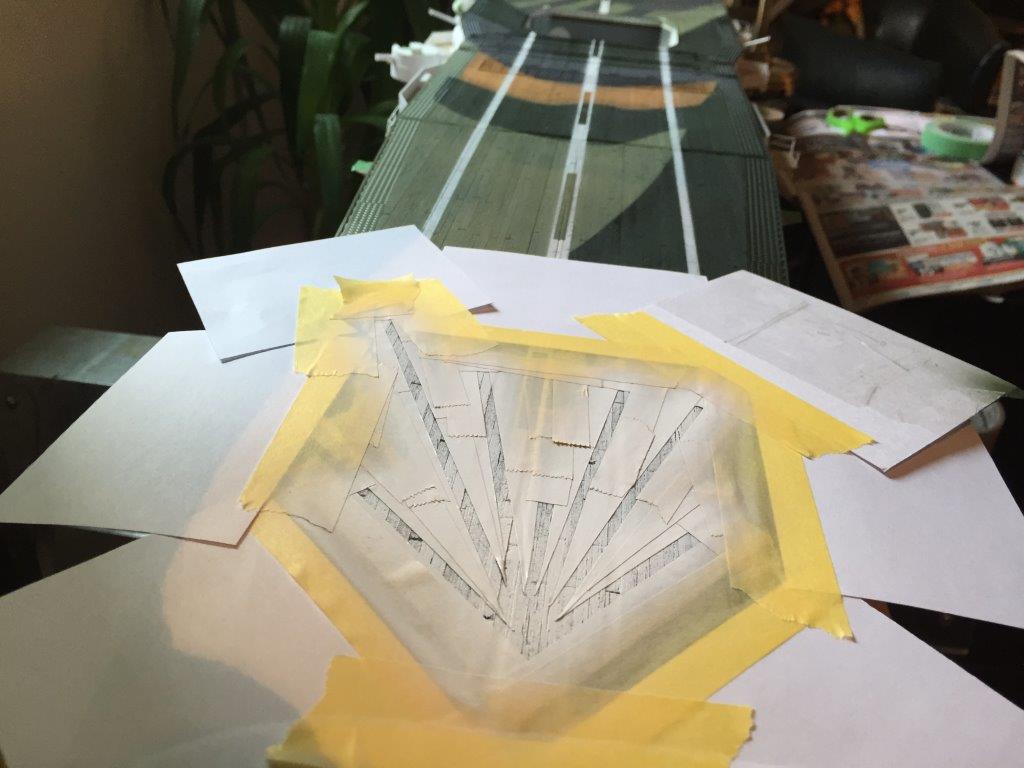
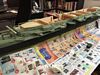
Click images to enlarge


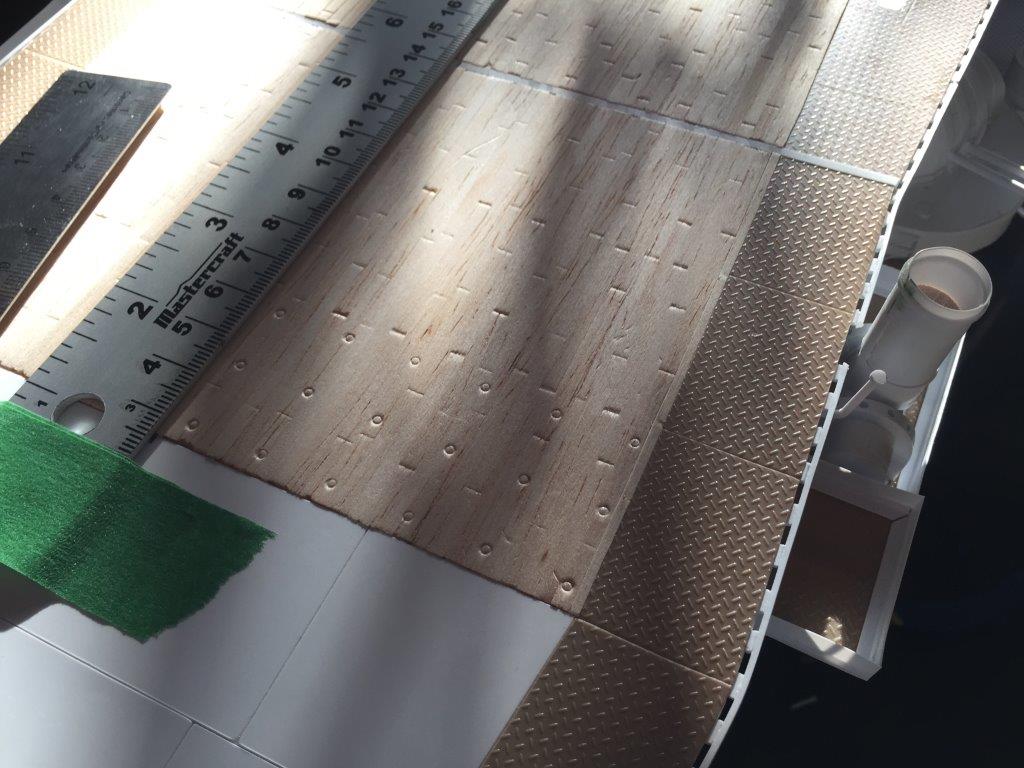
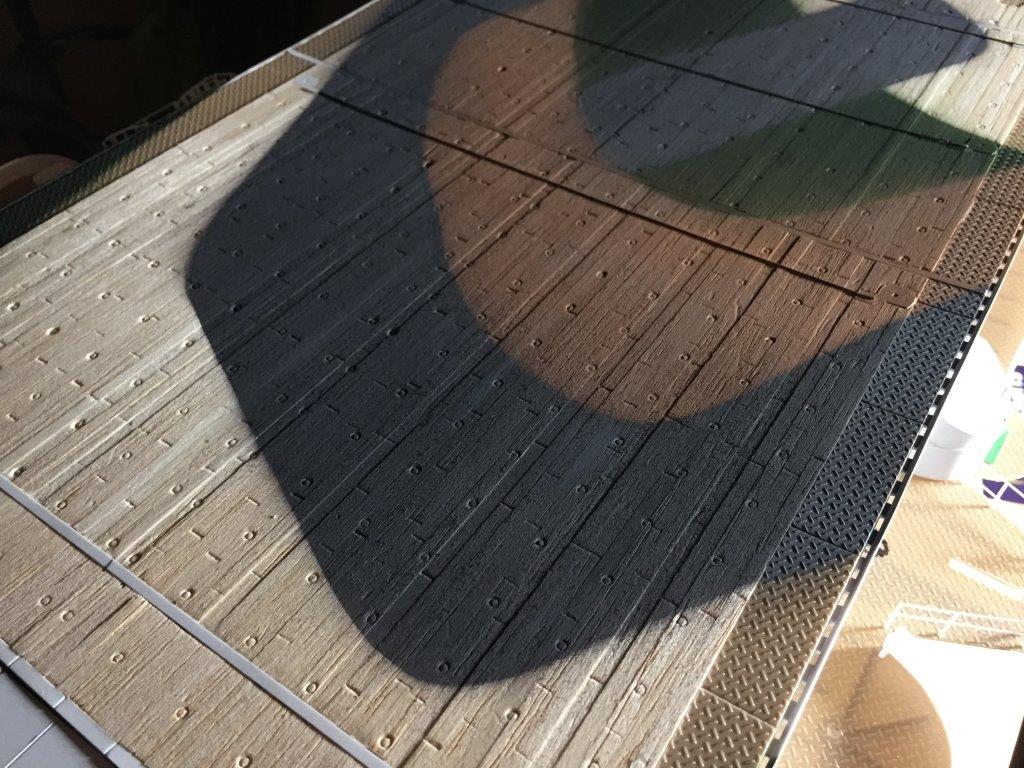
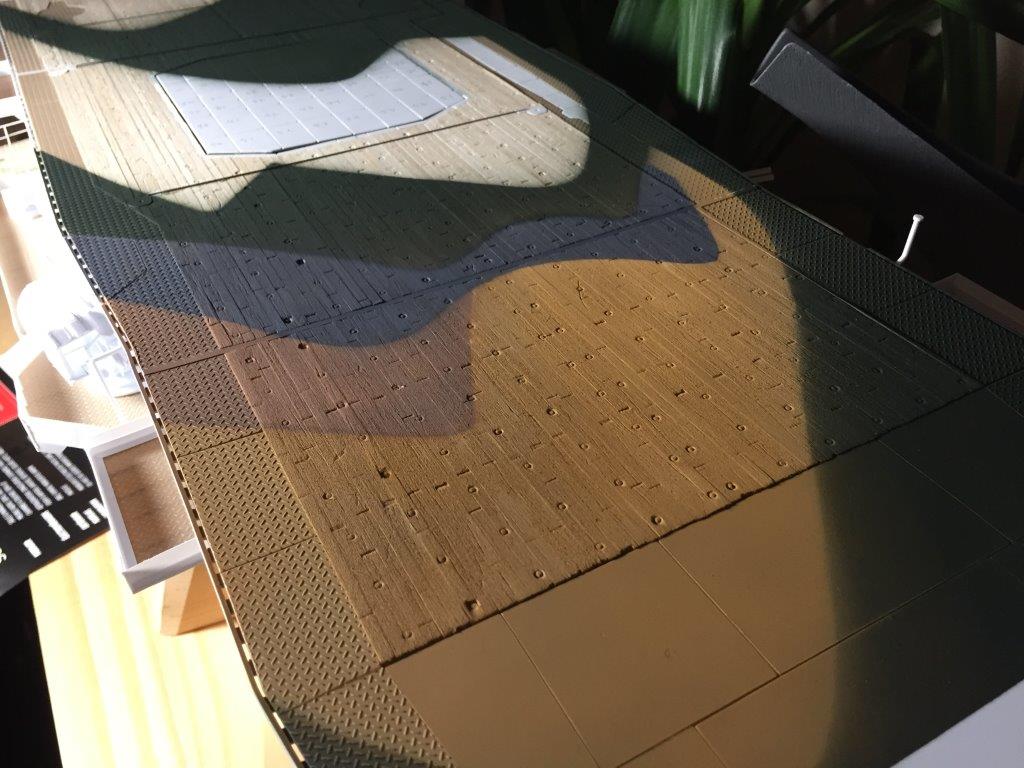
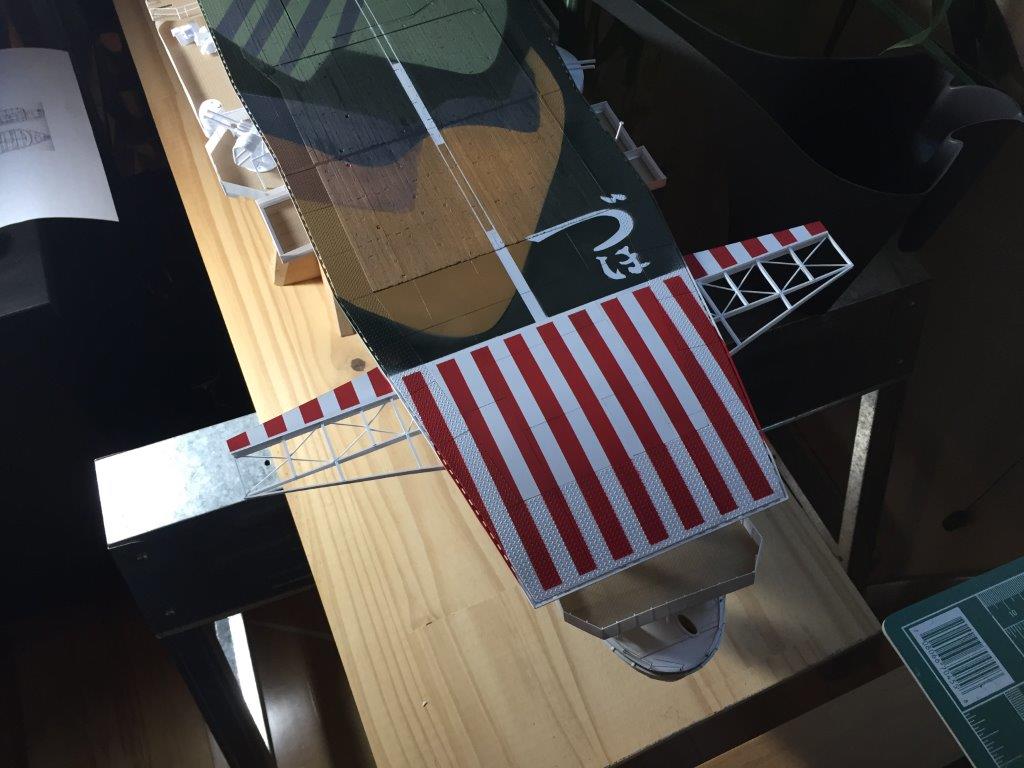
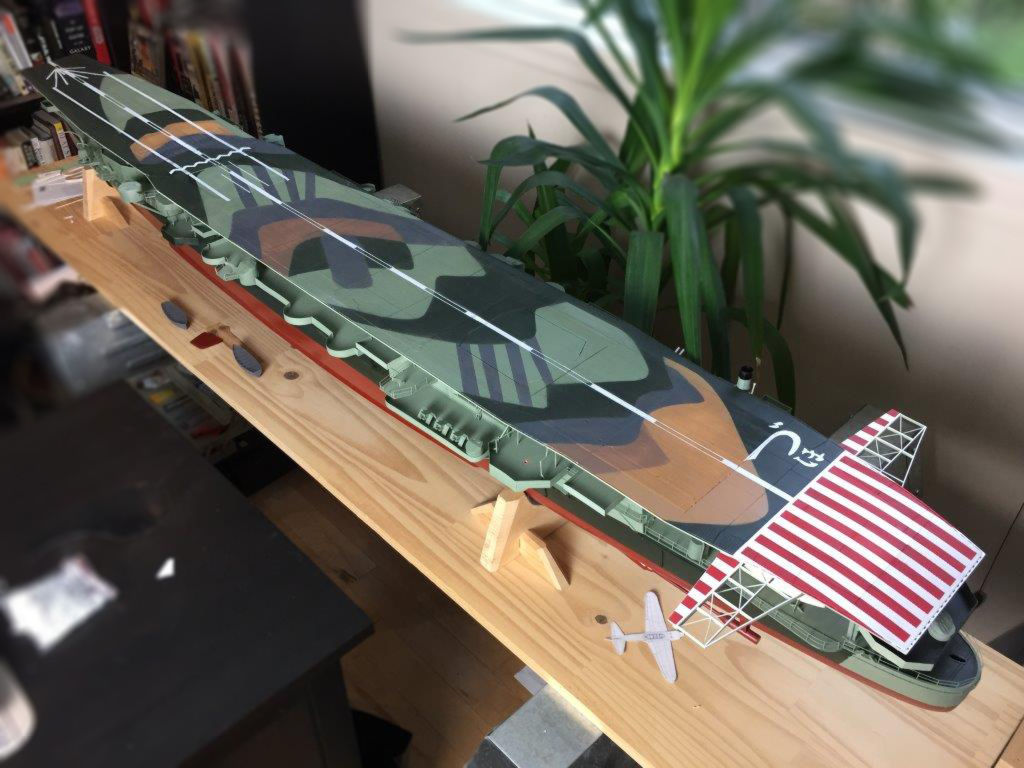
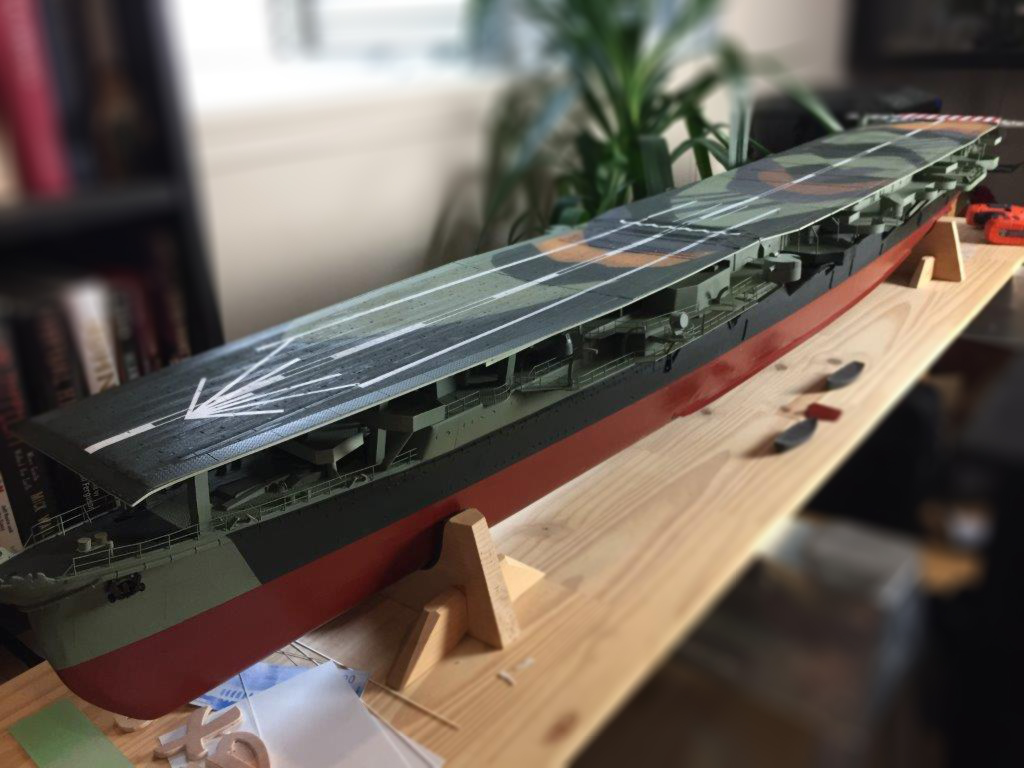
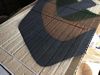
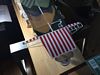
To say I was equally anxious and excited to finally be painting her is an understatement. The paint scheme on the flight deck was quite involved and I had never painted or masked a wooden surface
before. I was able to match all the colours of the ships camouflage with off the shelf Tamyia colours with the exception of the most widely used colour, the light green.
The dark green was Tamiya J.N. Green (XF-11)
The dark brown was Tamiya NATO Brown (XF-68)
The light brown was Tamiya Desert Yellow (XF-59)
The dark grey was Tamiya IJN Gray (Sasebo arsenal) (XF-77)
The light green was obtained by mixing one 10ml bottle of Tamiya Flat White (XF-2) plus 4ml of Tamiya Olive Green (XF-58) (5:2 ratio)
The Tamiya paint went on beautifully with the airbrush (as it always does). The masking tape did pull up minuscule potions of the wood, but I was able to touch up those spots with a brush.
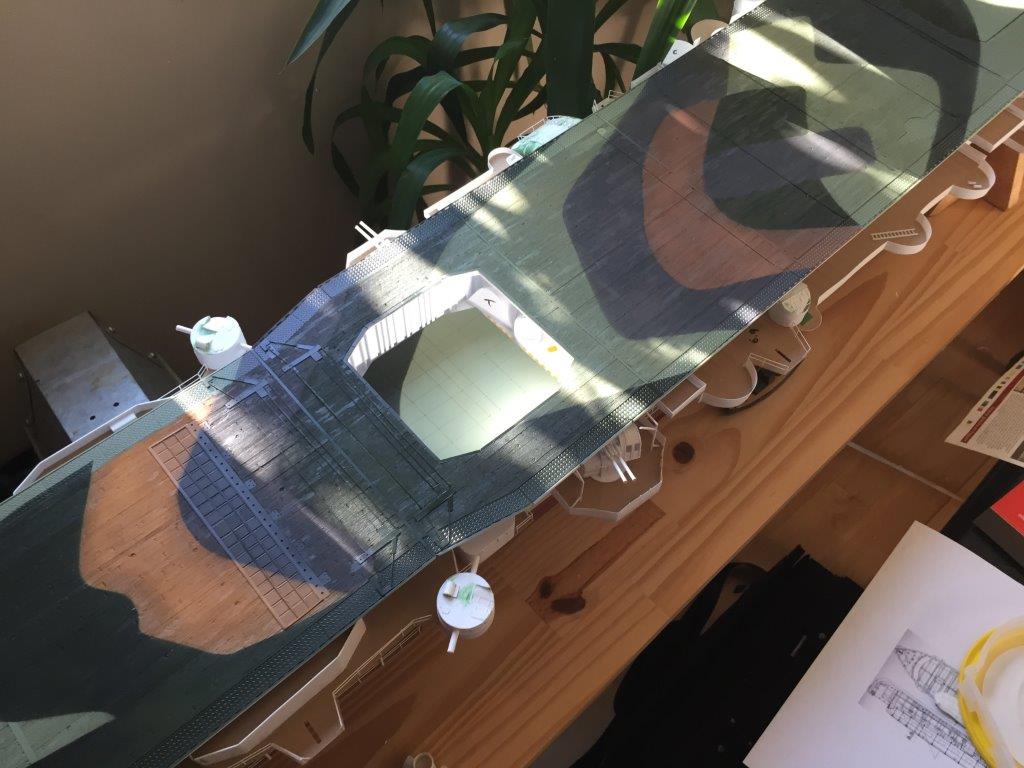
The white lines and Kanji were next and finally the flight deck was completed, once I masked and added layers of red for the aft portion of the flight deck and the wings. I tried two types
of painters tape when painting the hull and they were both poor substitutes. One had too much adhesive and pulled up the wood and the other, touted as feather grip, would not stick to the
wood properly. Once again the Tamiya masking tape was the absolute best option and never pulled any wood up and stayed fast until I pulled it up. I finished off the flight deck with a coat
of Future and two coats of Tamiya Dull-Coat spray.
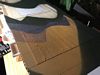
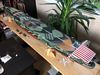
At this point I built both bow anchors from styrene and painted them black. The trickiest part of the job was in painting the rest of the upper hull and super structure. This had the two tone colouring
(dark green and light green). What made it difficult was masking around the support posts and details of the upper works. All told, the painting of the ship took me 2 hours for the flight deck and 3
hours for the rest of the ship. I went through a lot of Tamiya paint, but I would only accept the best paint for the Zuiho: I was not disappointed. The anchors were attached and then the Future coats
were applied.
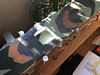
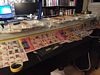


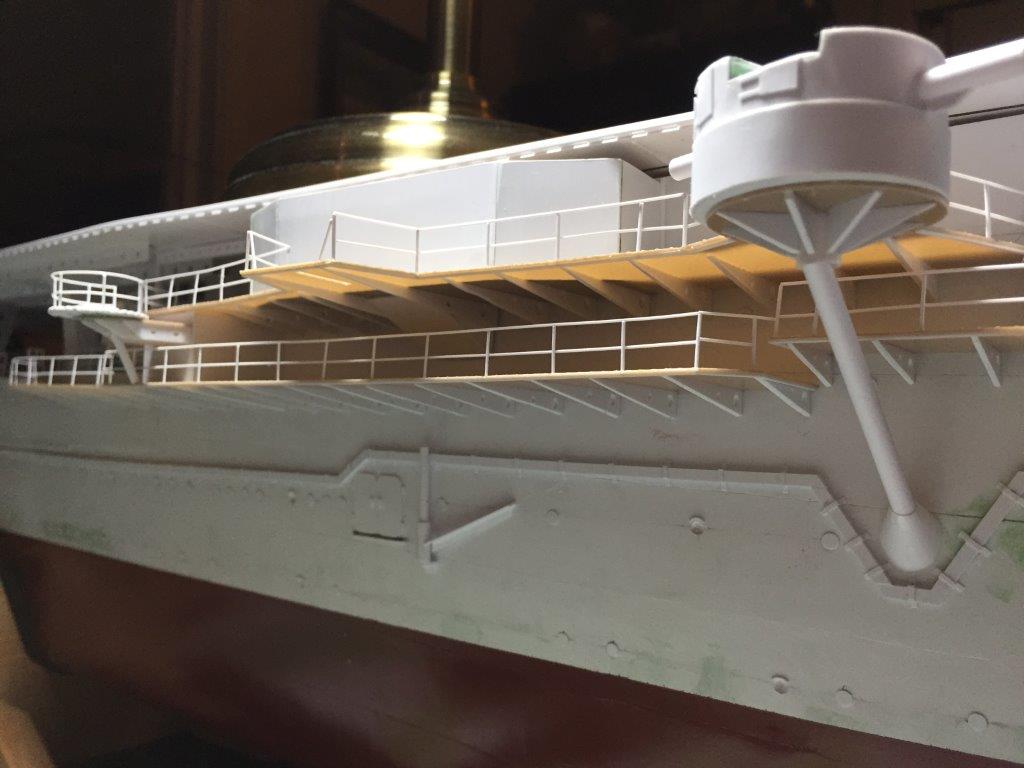
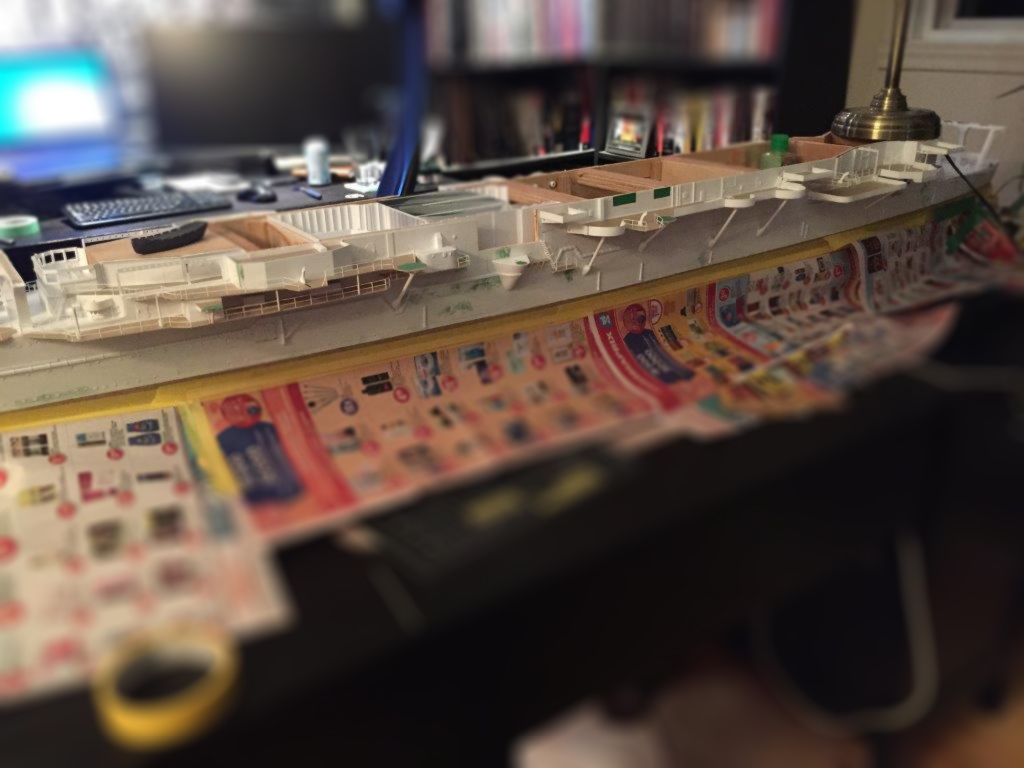
The final phase of this build was completing all the highly detailed parts of the ship. These included: the single, dual and triple 25mm mounts, the five main antennas; the 25mm ammo boxes; the
secondary horizontal antennas and other misc items. Oh, and twelve 1/100 A6M5 52 Zeros in wood…
The dual mounts 25mm guns were completed first because they were the fewest in number (4). It was frustrating at times working in such detail and I told a friend that had I done them first I
probably would have abandoned the whole project. Fortunately, with the experience gained while building other parts of the ship, and the ship having all these empty spots needing guns, I was
able to plow through. The 4 dual mounts ended up only taking me about 4 hours to complete, including painting them.
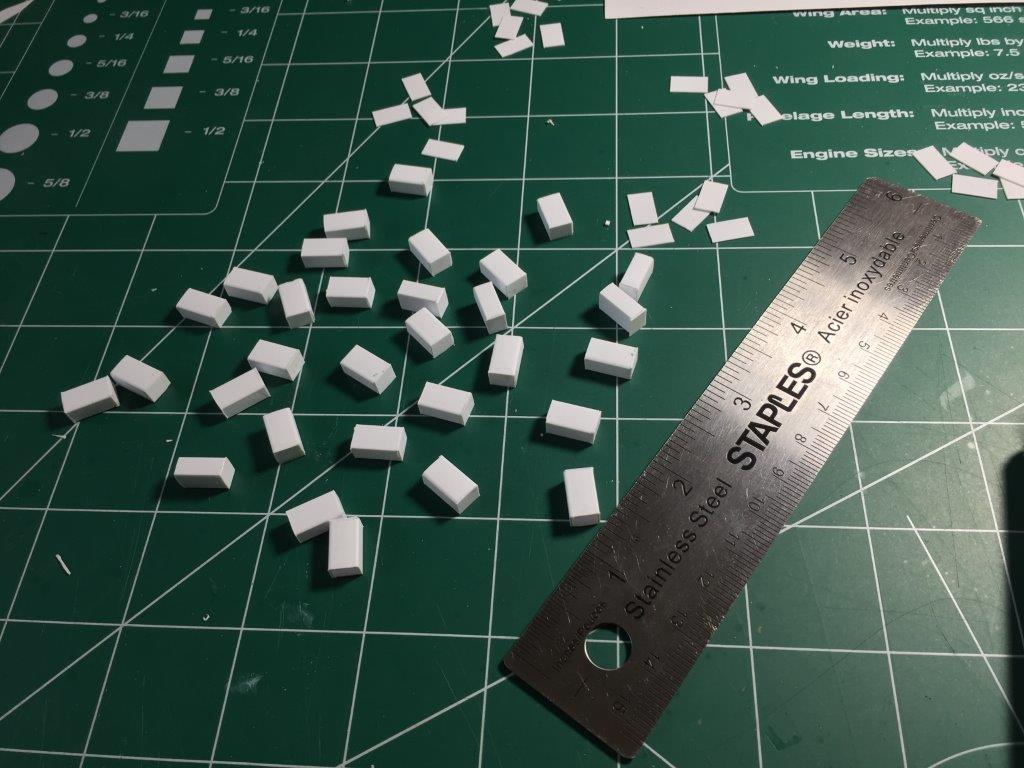
Next I moved on to the ammo boxes for the 25mm cartridges. These were plentiful and came out nice. They add a touch of detail to the kit.
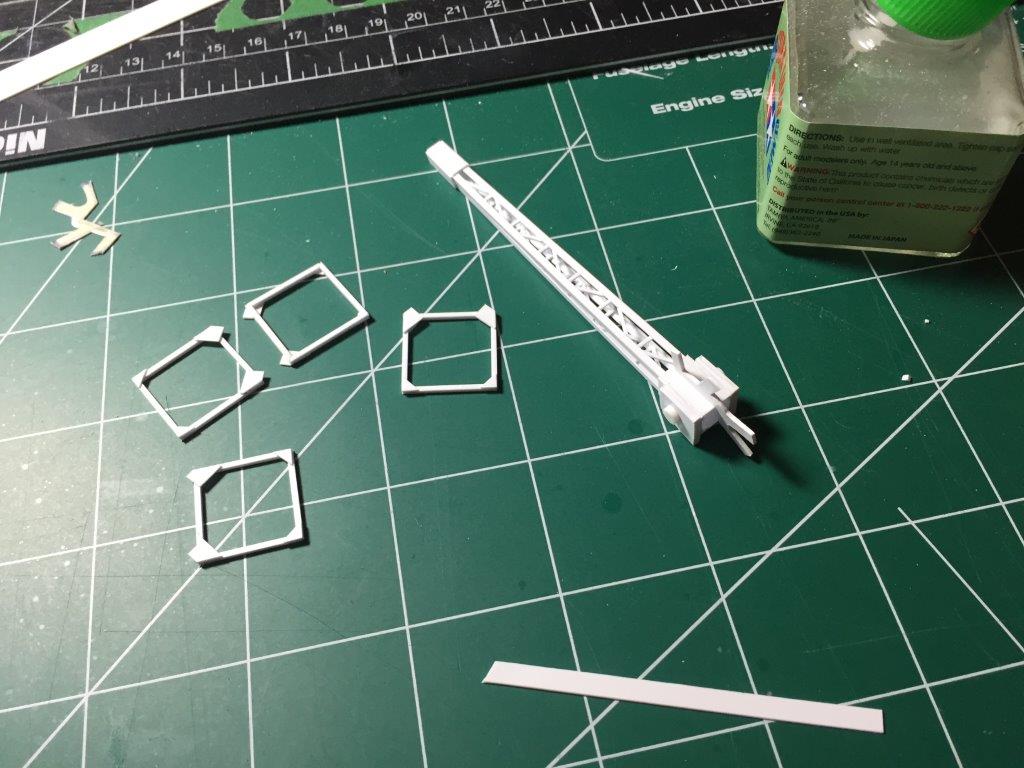
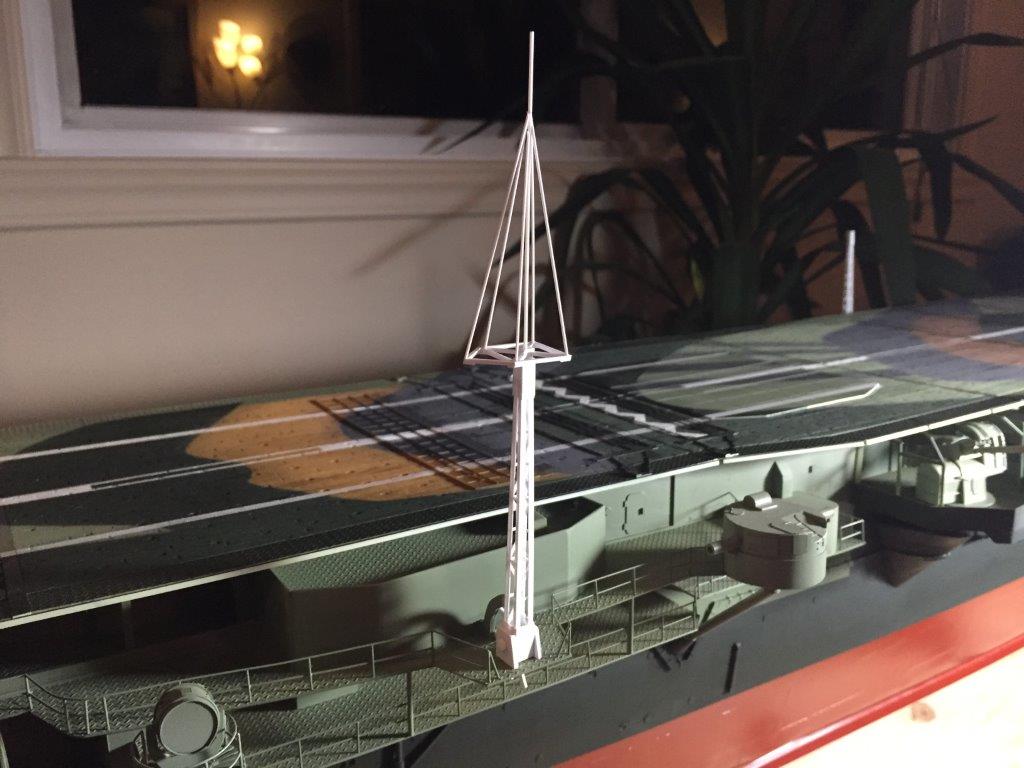
The 5 main antennas required a delicate touch and quite a bit of patience. As with any items I needed to build that had more than one example required, I incorporated the assembly line practice:
Cutting the requisite number of strips and pieces needed for each component before assembly and then gluing the same piece 5 times. This makes the individual antenna take longer to build, but
then all five are exact replicas and are finished simultaneously. The only negative to doing this practice is if you make an error in cutting or assembly, then you have to repair or correct the
same error 5 times. Luckily, I never encountered any major errors that required major deconstruction in all the instances I incorporated the assembly line practice. The foremost port side antenna
also had a Type 13 Go radar. The AOTS Takao book provided me with the detailed drawings to complete it quickly.

|