in 1/700 scale Part 4
by Gabor

| The final step was gluing the rails and other stuff to their places and creating the diorama around the ship. I started the work at the bow. | ||||||||||
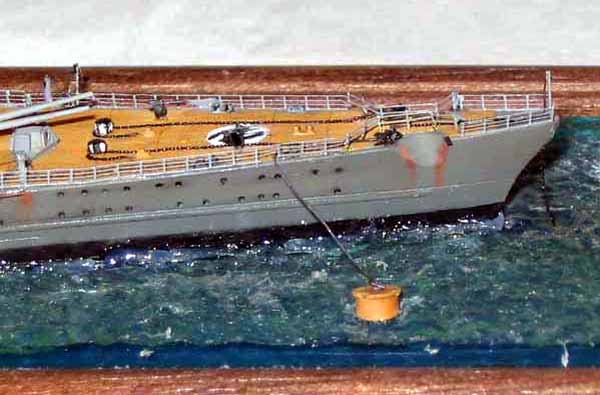
| The first step was painting the swastika to the foredeck. I used a pair of compasses for drawing the disc. Then I painted it with white and after drying I drew the swastika and painted it with black. The next was gluing the anchor chains and capstans to their places and then I scratchbuilt the flagpole from a piece of sprue and wire. Finally I glued the rails to their places using the deck edge as guide. Then I created cables from brass wire which connect the ship to the moorings. | click images
to enlarge |
|||||||||
 |
||||||||||
The next was building the pilot bridges. These bridges were usually
covered with canvas. Unfortunately this cant be seen on the kit. The sides
of these bridges were very thick, thus I cut them down and replaced them
with rails.
|
||||||||||
The final steps of the building were the following:
|
 |
|||||||||
 |
||||||||||
| I used PE ladders from a set for the modern HMS Sheffield. |  |
|||||||||
The decks are "washed with well thinned black and I used
brick red for simulating rust on the hull and the superstructure.
Conclusion:
References:
|
||||||||||
| For an in-box reveiw of this kit
click here.
|
||||||||||